Original: $5.17
-70%$5.17
$1.55The Story
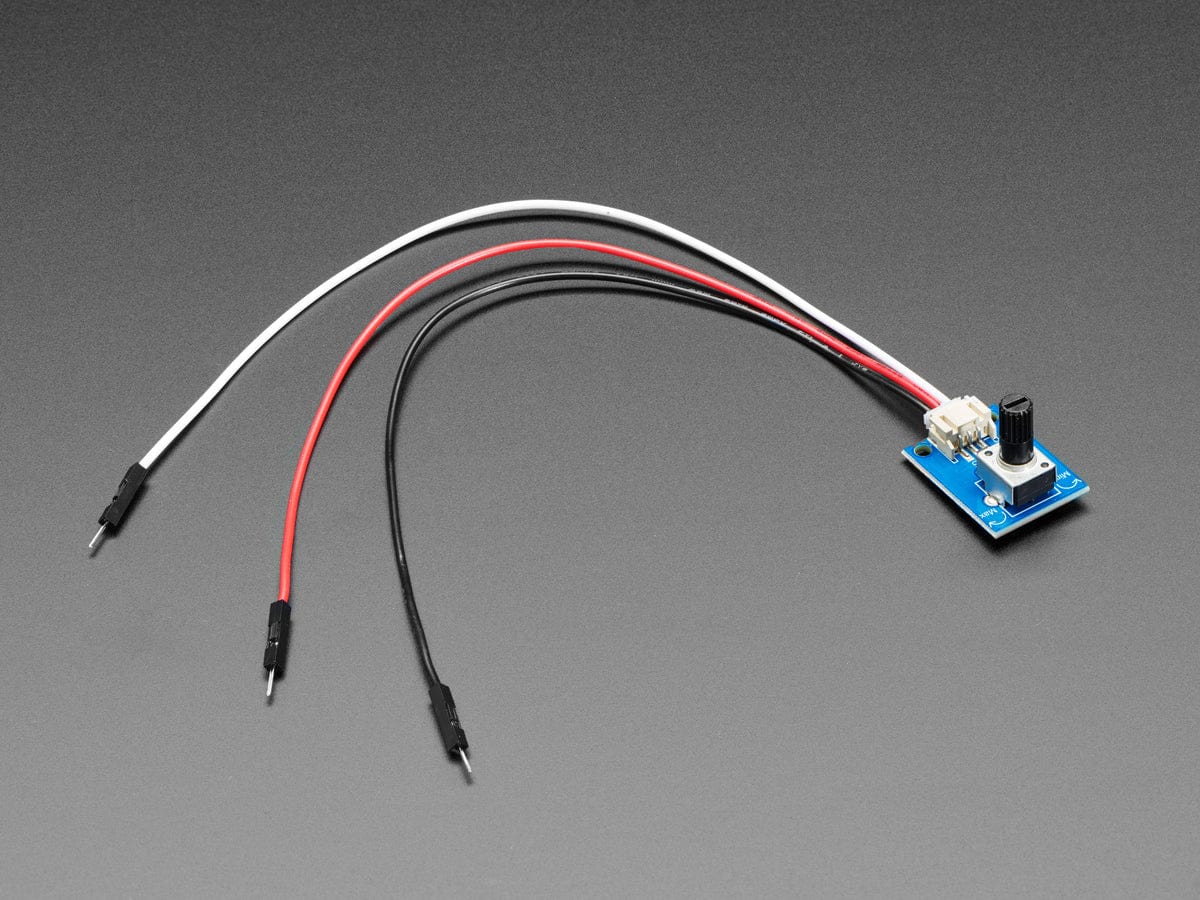
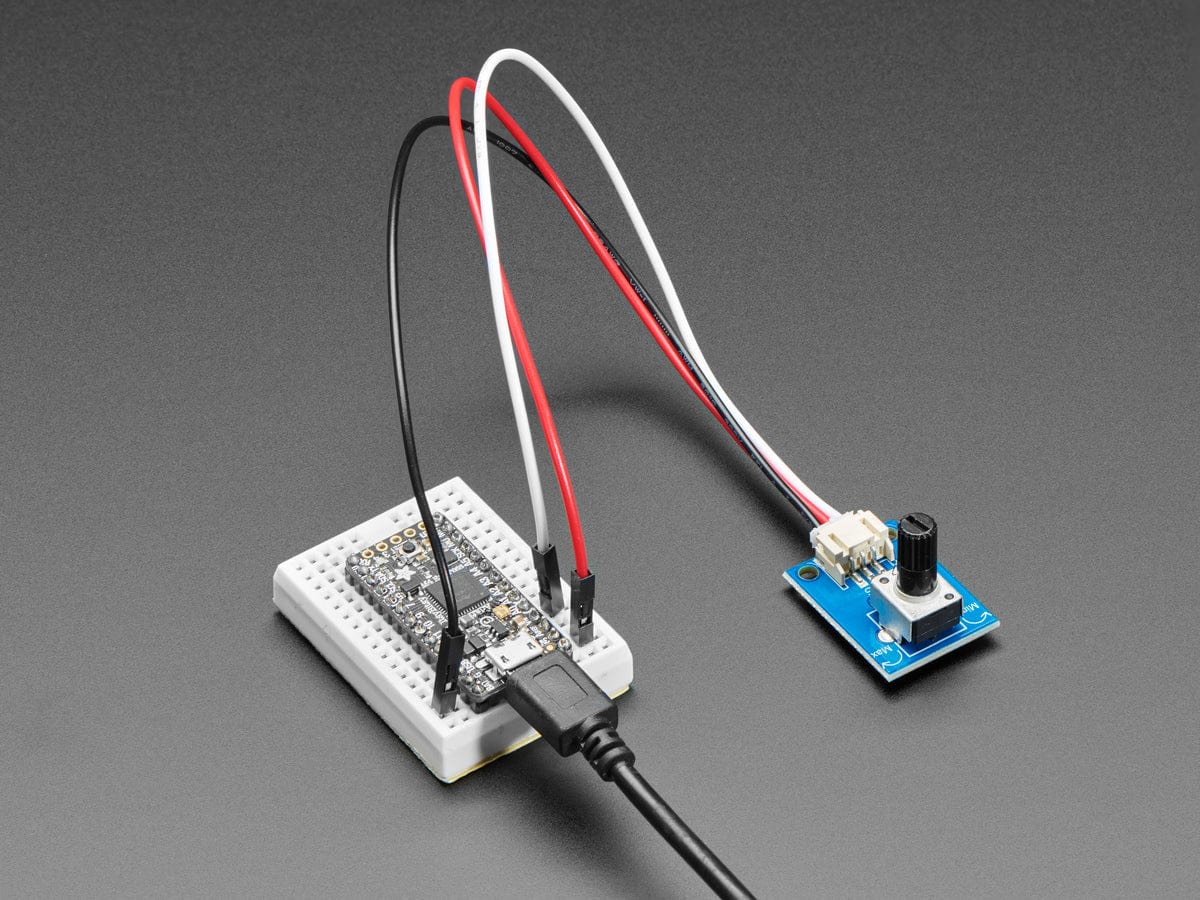
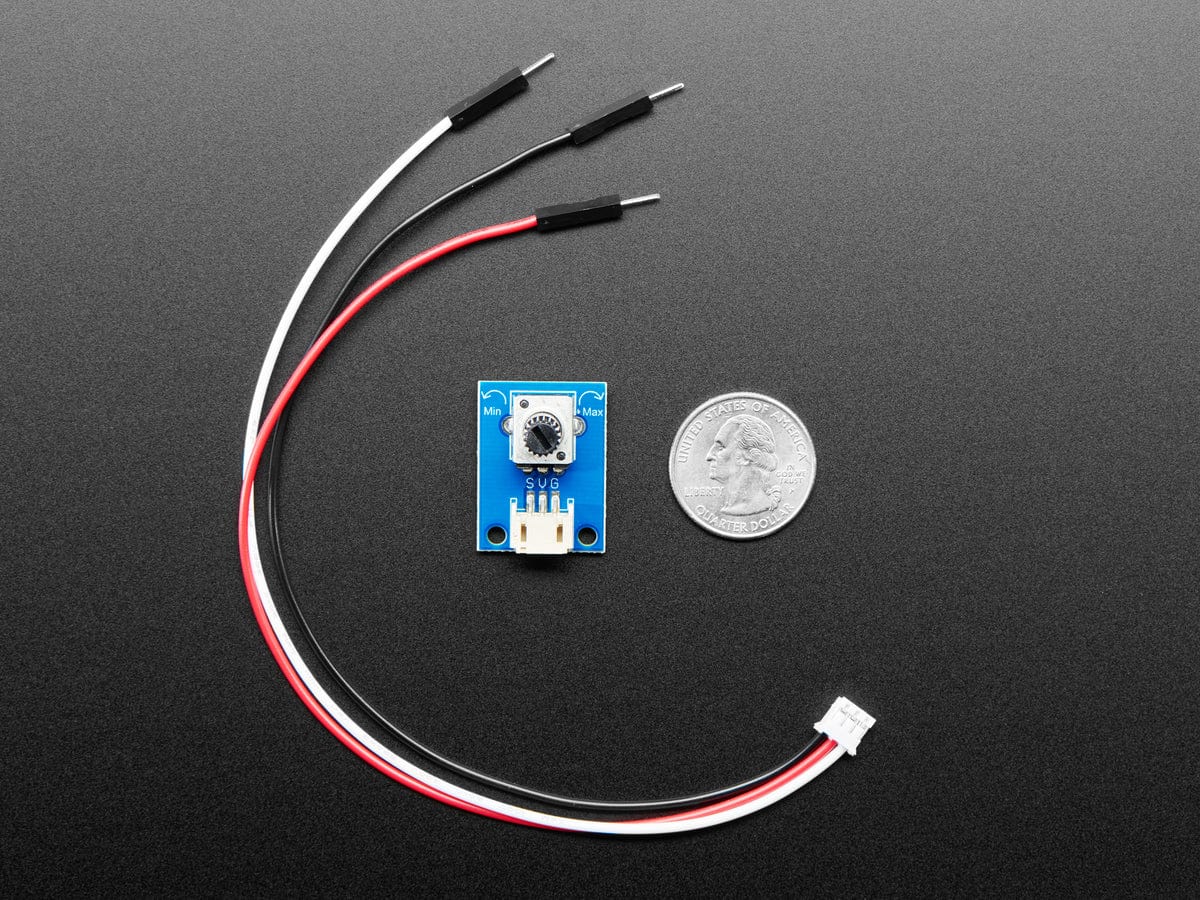
For the easiest way possible to measure twists, turn to this STEMMA potentiometer breakout (ha!). This plug-n-play pot comes with a JST-PH 2mm connector and a matching JST PH 3-Pin to Male Header Cables - 200mm, so wiring up is a cinch.
Note: this uses STEMMA, not the smaller STEMMA QT!
Simply plug the cable in, then use the black wire to connect to your ground, white wire to the input/signal pin and the red wire to your power pin. The power pin voltage should match the voltage max of your analog input. So, if you're using a 5V Arduino or compatible, connect red to 5V. If you're using a 3V Feather board, tie red to 3V.
If you want to connect to something with alligator clips use our STEMMA to Gator cable. To connect to something with a STEMMA 3-pin connector already, use this cable.
Technical Details
- PCB Dimensions: 28mm x 21mm
- Potentiometer (L x W x H): 11.8mm x 10mm x 20mm
- PCB Diagram
- Pinout
Details & Craftsmanship
Every detail has been carefully considered to bring you the perfect product.
Details & Craftsmanship
Every detail has been carefully considered to bring you the perfect product.
Description
For the easiest way possible to measure twists, turn to this STEMMA potentiometer breakout (ha!). This plug-n-play pot comes with a JST-PH 2mm connector and a matching JST PH 3-Pin to Male Header Cables - 200mm, so wiring up is a cinch.
Note: this uses STEMMA, not the smaller STEMMA QT!
Simply plug the cable in, then use the black wire to connect to your ground, white wire to the input/signal pin and the red wire to your power pin. The power pin voltage should match the voltage max of your analog input. So, if you're using a 5V Arduino or compatible, connect red to 5V. If you're using a 3V Feather board, tie red to 3V.
If you want to connect to something with alligator clips use our STEMMA to Gator cable. To connect to something with a STEMMA 3-pin connector already, use this cable.
Technical Details
- PCB Dimensions: 28mm x 21mm
- Potentiometer (L x W x H): 11.8mm x 10mm x 20mm
- PCB Diagram
- Pinout